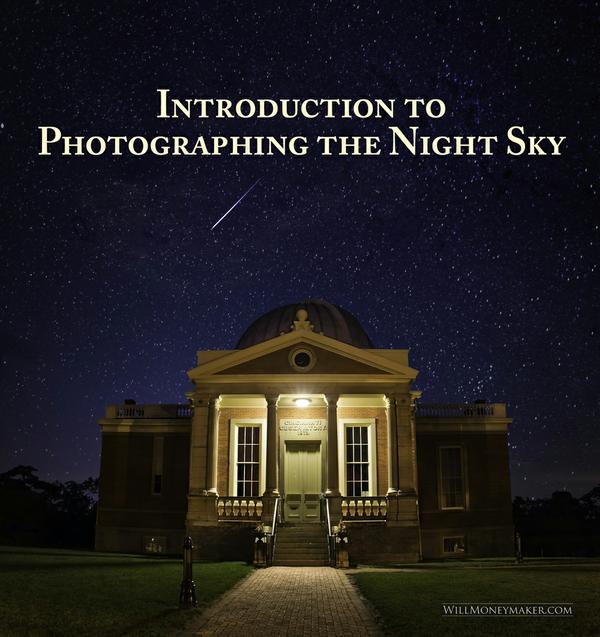
The night sky is full of marvels. Not just the stars, but also the moon, the constellations, the Milky Way, meteor showers and much more. Words or paintings simply can't capture the exquisite beauty of the starry sky. But a photographer can – particularly one who is armed with the right equipment and the right knowledge. If you'd like to explore the endless wonders of the nighttime sky, I'll show you everything you need to get started!
The Equipment You'll Need
To capture the stars, you'll need some basic equipment. All nighttime photography kits start with a tripod – you'll need it to stabilize your camera during long exposures. You should also invest in a remote shutter release so that you don't jostle your camera by pressing the shutter button.
After that, it’s down to lens choices. Most photographers
use a wide-angle lens (24mm or wider) to take landscape shots that include wide expanses of the sky. However, if you'd like to zoom in on a particular feature – the moon, for instance – then you'll need a long lens. A 200mm lens will make the moon seem larger than normal and it may even reveal a few details on the moon’s surface. If you want an image that shows texture (craters and the like), then you'll need to use an extremely long focal length or you'll need to use several teleconverters with
your 200mm lens.
Choosing a Time and Place
Choosing a location is relatively simple. Start by looking for an area that is completely devoid of light sources – house lights, streetlights and more. You should also make sure that your vantage point offers a broad view of the sky, even if you plan to include part of the landscape in your shot.
Picking the right time, however, is
a little more difficult. The skies will need to be clear and you’ll need to pay attention to the moon. If you’re photographing stars, do it before the moon rises, after the moon sets or wait until the new moon. If you take photos during the full moon, the moon may be bright enough to wash out all but the brightest stars.
Which Camera Settings to Use?
If you're shooting at full dark with no nearby
artificial light sources and no moonlight, then use a 30 to 60 second shutter speed as your starting point. This will give you plenty of time to fully expose the Milky Way or catch a few meteors streaking across the sky during a meteor shower.
Keep in mind that stars aren't in a fixed position throughout the night, which means that at exposures longer than 60 seconds, they'll create streaks within your images. In fact, star trails are a whole sub-genre of night sky
photography. With hour-long exposures, for instance, your night sky photos will be filled with graceful arcs of light as the stars move through the sky.
Adjust your aperture based on the shutter speed, but if possible, don’t exceed f/2.8 or f/2 so that you can avoid the soft look that comes with extremely wide apertures. As to the ISO, you'll likely need to set it extremely high (around 1600) to get a good exposure. If your camera produces too much noise at this
ISO, feel free to experiment with your shutter speed and aperture, or alternatively, look into noise removal software.
The night sky is full of possibilities. If you haven't yet tried to shoot the stars, now is the time to get started. Few photographic challenges are more rewarding than capturing the mystery and sparkling beauty of the night sky.